How to Sell Your First Product on Payhip
If you’ve just signed up to the Payhip family you’re probably wondering ‘what next?’
We've created this quick video to walk you through getting set up to sell your first digital product:
If you prefer to read, or if you're going to be selling something other than digital products, then read on! This guide will show you how to set up your account, list your first products and start selling. You’ll then join the thousands of people who earn an income through their Payhip account.
When you get to the end you might think we’ve missed something: ‘It can’t really be that simple, can it?’ Well, it is. As you’re about to discover.
The main points we’ll cover are shown below. You can click on the title to go straight to each section.
- Connect a PayPal or Stripe account
- Adding digital products
- Adding physical products
- Adding subscriptions
- Adding coaching
- Adding courses
- A few tips on promotion and marketing
So, if you’re ready, let’s go!
Connect a Payment Account
The first thing to do is make sure that people can pay you.
Connecting your PayPal or Stripe account is really easy and completely secure.
Click on Account in the top right of the screen and then click Settings. Once you’re on the settings page, select the Payment Details tab.
You’ll then be guided through the process by on-screen prompts - there’s not really much that could go wrong.
Connecting PayPal
To link your PayPal account just hit the button at the top of the screen that says Link PayPal Account (we did say it was easy).
Then just follow the on-screen instructions.

This article shows you the step-by-step process.
Connecting Stripe
If you prefer to get paid through Stripe, scroll down on the Payment Details tab and select Accept Payments With Stripe.
You will then see options to Connect Your Account or Signup for Stripe.
Again, the on-screen prompts will take you through the process in a few minutes.
This article shows you the step-by-step process.
Add Your First Product
Now we come to the exciting bit: sharing your work with the world and earning some money. The process is different depending on whether you’re selling digital products, physical products, subscriptions, coaching, or courses.
First, go to your Products page and click on the appropriate option. (Click Show More to add a subscription)

Add Your First Digital Products
The first thing to do after hitting the Add Digital Product button is to upload the digital file that you want to sell. You do this by clicking the Upload product file button and then selecting the file. Your file can be an eBook, audio, video, PDF or any other file format up to 5GB in size.
You then add a title for the product and the price you want to sell it at. It might be a good idea to test the market by looking at what prices similar products are on sale for.
You can also choose ‘pay what you want’ pricing by typing a minimum price followed by a + sign in the price box. For example 5+ will set the price at 5.00+ dollars, euro, pounds or whatever currency you work in. Customers must pay at least this price but can pay more if they want to.
Next, you can upload images or embed audio or video files that will give your customers a better idea of what they are buying.
Adding your product description is really important. You need to explain what your product is and - even more important - how people will benefit from buying it. Benefits could be a skill they will master or what they will learn from your digital product.
This is not the time to be bashful or undersell yourself. Be bold, be proud.
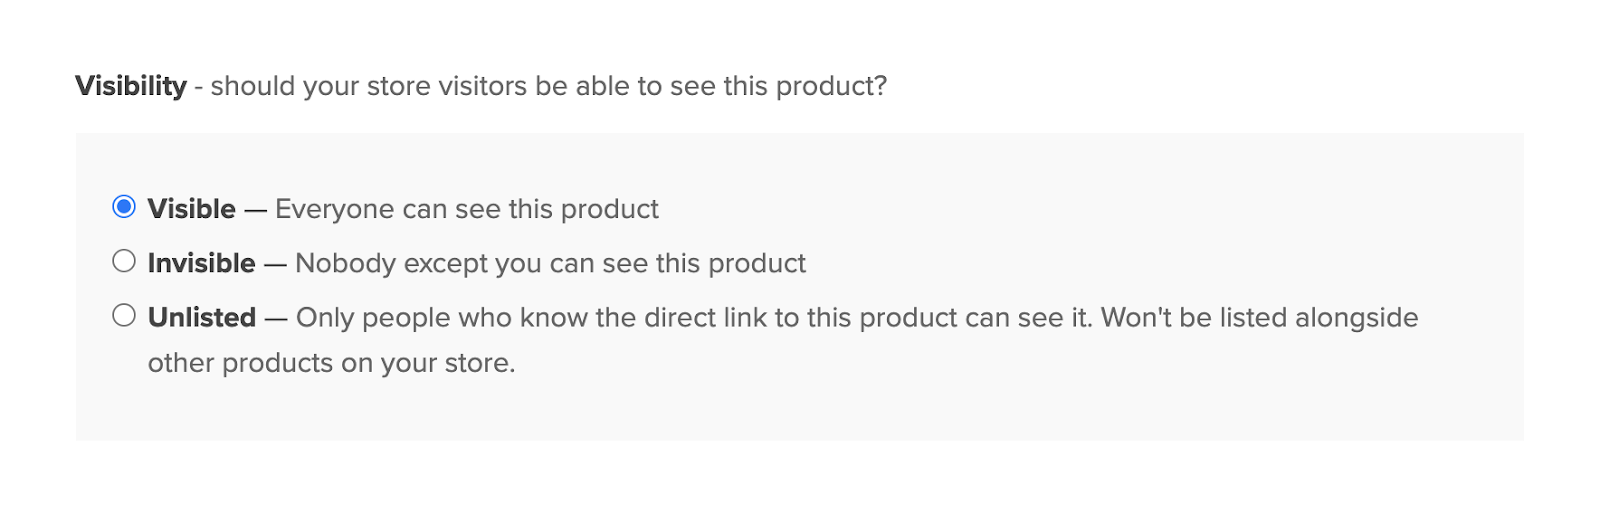
You don’t have to make your digital product live straight away. You can opt to make it ‘invisible’ (except to you) while you refine the listing. When you decide to go live you can make your product ‘unlisted’ so that only people with a direct link can see it, or ‘visible’ for the whole world to see, buy and enjoy.
And that’s pretty much it. Your digital product is now live on the site and available for people to buy and download.
There are a few advanced (but still pretty straightforward) options that might be relevant. Payhip will automatically show and explain these to you. And you can select whatever is relevant with a single click.
There’s a bit more detail here if you need it.
Adding Physical Products
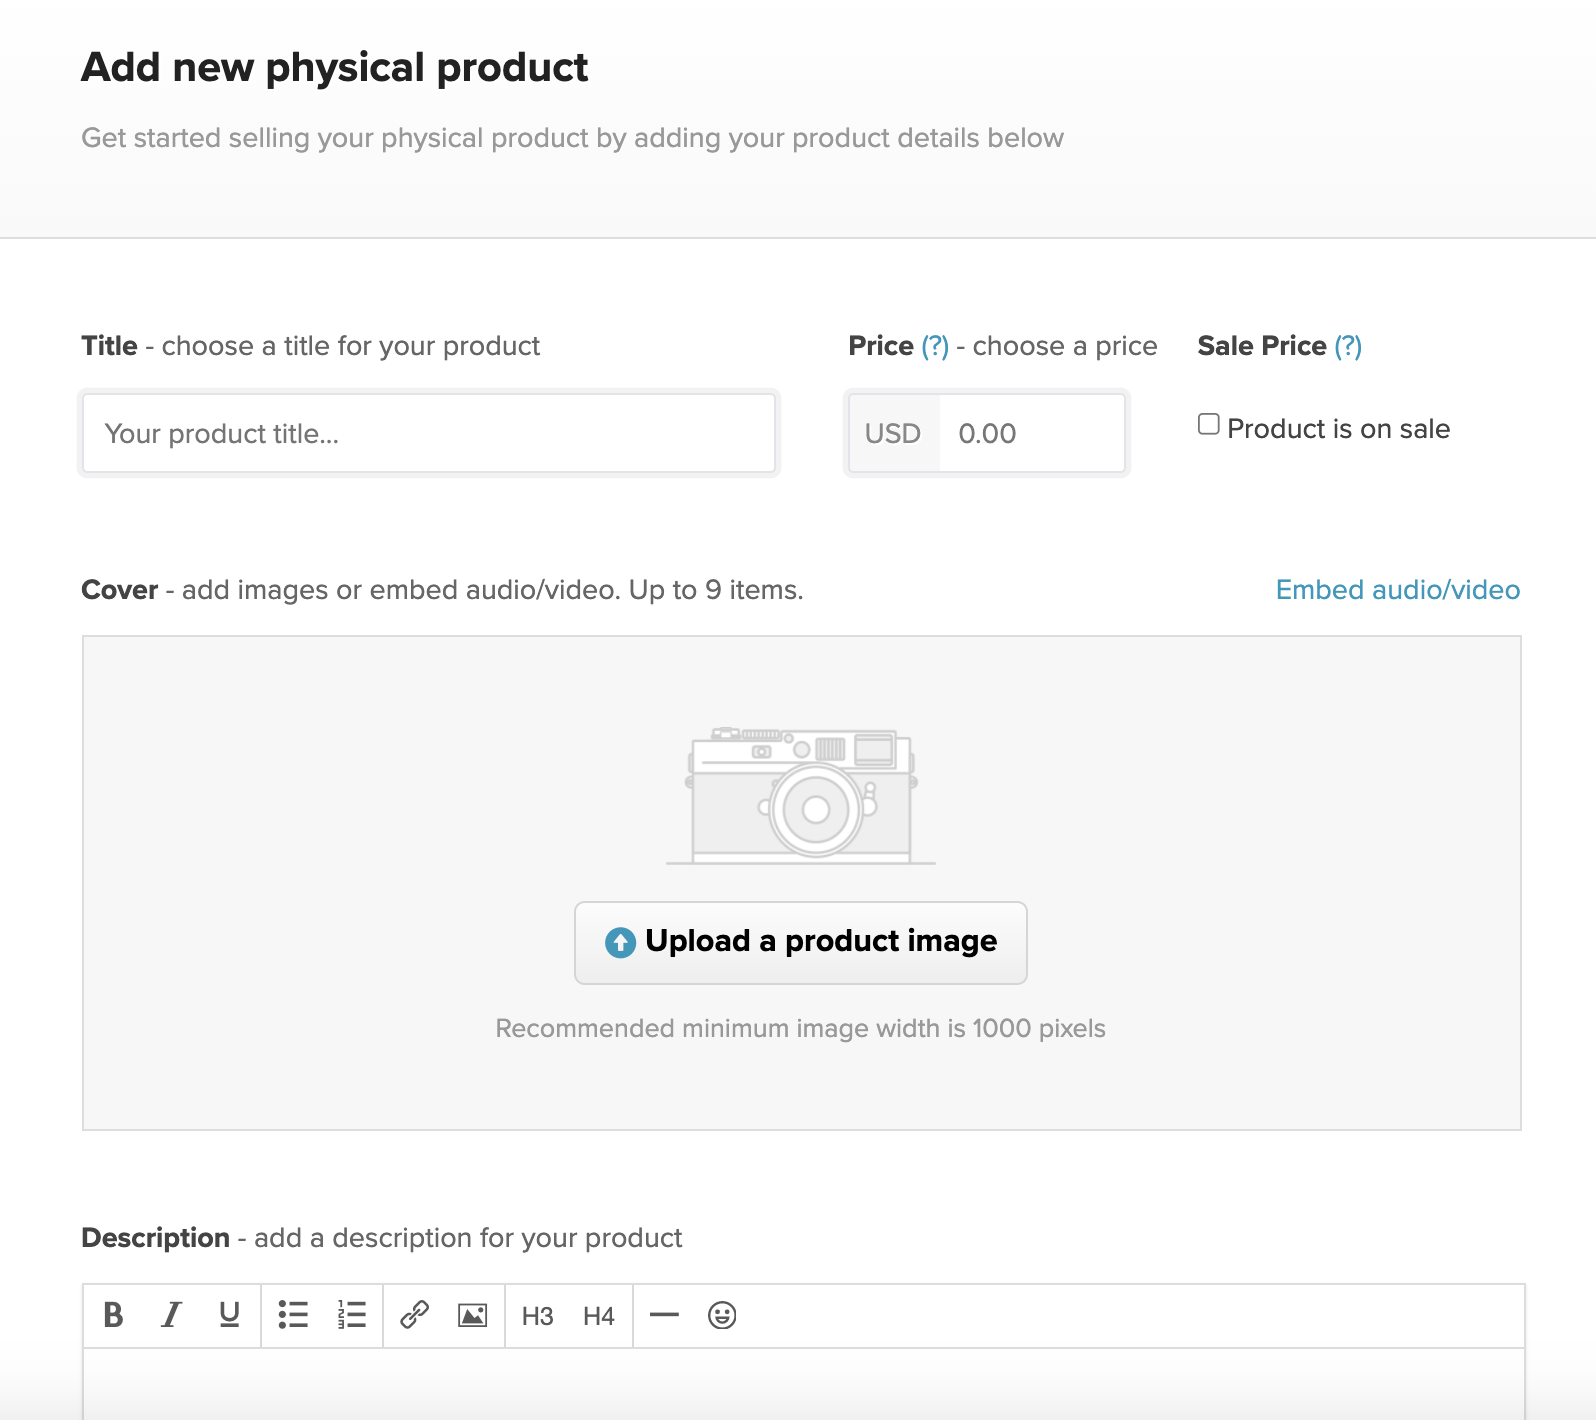
Adding physical products is also simple. The on-screen prompts will take you through the process one step at a time so that you can quickly add everything you need to make your product irresistible.
The first thing to decide is whether your product has a single variation or whether there will be options such as sizes or colours.
For a single variant product just type in the product name and price you want to sell it at.
If you want to run a sales promotion you can check the box marked ‘Product is on sale’ and set a price below the usual value.
To help sell your product you can upload images and embed video or audio files. People ‘buy with their eyes’ so it’s worth putting some effort into your product photos to show them in their best light (literally).
You also have the option of setting ‘pay what you want’ pricing as described above for digital products.
Finally, add a description to briefly explain the most important features and benefits of the product. Think about your target market and what matters most to them.
Product Variations
If your product has variations, you start by adding the product title, description and any images on the above screen. Ignore the price for now.
Next, scroll down to the additional details and select the checkbox for “This product has different variations”.
A box will then appear on your screen where you can set whatever product options you want (e.g. size, colour) and the selling price for each variation. You also have the option to select which of the variants are currently on sale.

Inventory
Payhip also makes it easy to assign SKUs to each product or variation and keep track of stock levels. After you’ve set the number of items you have in stock, Payhip automatically deducts the relevant quantity with every order.
There’s more detail on listing products here if you need it.
Adding Subscriptions
To add subscriptions you will need to have a Stripe account.
When you add a subscription product the first step is to give it a name and description. Once you’ve set these up you then add specific subscription plans that relate to the product. Plans will feature the recurring price and billing interval and can be tied to specific digital products.
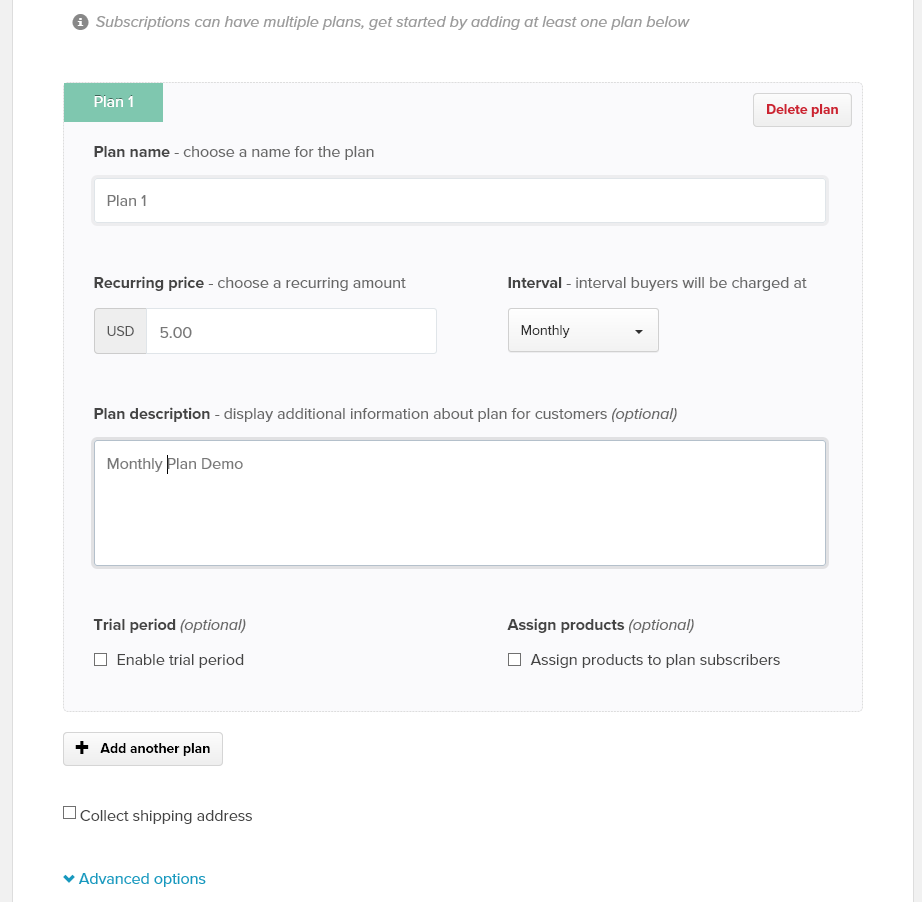
These options are easy to manage. They allow you to have different prices for monthly or annual subscriptions and have tiered membership where subscribers have access to different digital products.
Adding Coaching
See here for an overview of adding a coaching service to your store: Add Coaching Products
Adding Courses
You can also sell courses through Payhip! Here's how: Add Course Products
A Few Tips on Promotion and Marketing
Once you’ve put your products on Payhip you’ll want to tell people about them. If you are growing a mailing list on any of the popular email platforms (Mailchimp, etc) you’ll be able to connect your Payhip account to your email account. You can then automatically add new customers to your email marketing list.
If you already have a website or blog you can link to your Payhip product listings and add a ‘Buy Now’ button. Customers can then buy your products or downloads without leaving your site.
Alternatively, Payhip can be your website. Add your store URL to your Instagram and Twitter bios to share it with your followers.
Payhip has many more marketing tools that are super-easy to activate. These include coupons, affiliates, social discounts, purchase upgrade discounts and more. When you’re ready to go more in-depth with marketing you’ll find all the tools and inspiration you need here.
Now Start Selling...
This brief guide should tell you all you need to know to get started with selling your first products. As you get more experienced with the platform there are other features and options you can use to refine your approach and increase sales.
But for now this is pretty much all you need to know to get going and start earning money from your talent.