Blogs
Say hello to your new blog! With Payhip you can add a blog directly to your store.
A blog is an excellent way to strengthen your brand and showcase what makes you different from other sellers in your space. It will also help to attract traffic to your store, making it more likely to appear in search engine results.
In this article:
- Add a blog post
- Customize your blog
- Add your blog to the navigation bar
- Manage your blogs
- Manage blog comments
Add a blog post
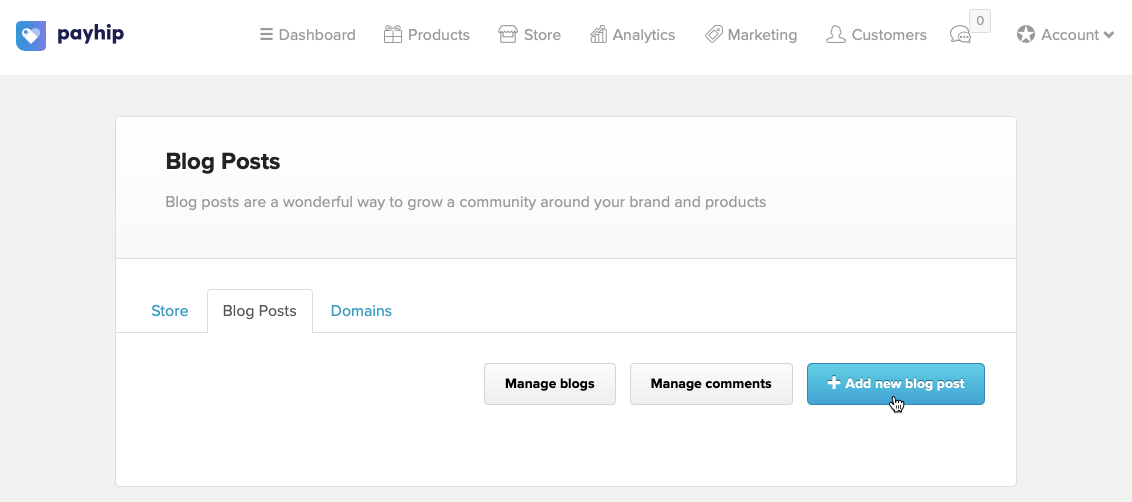
To get started, click on Store and head to the Blog Posts tab. Then click + Add new blog post.
On the next page, give your post a title. You can then add the article text into the Content field (use the toolbar along the top of the editor to format your text).
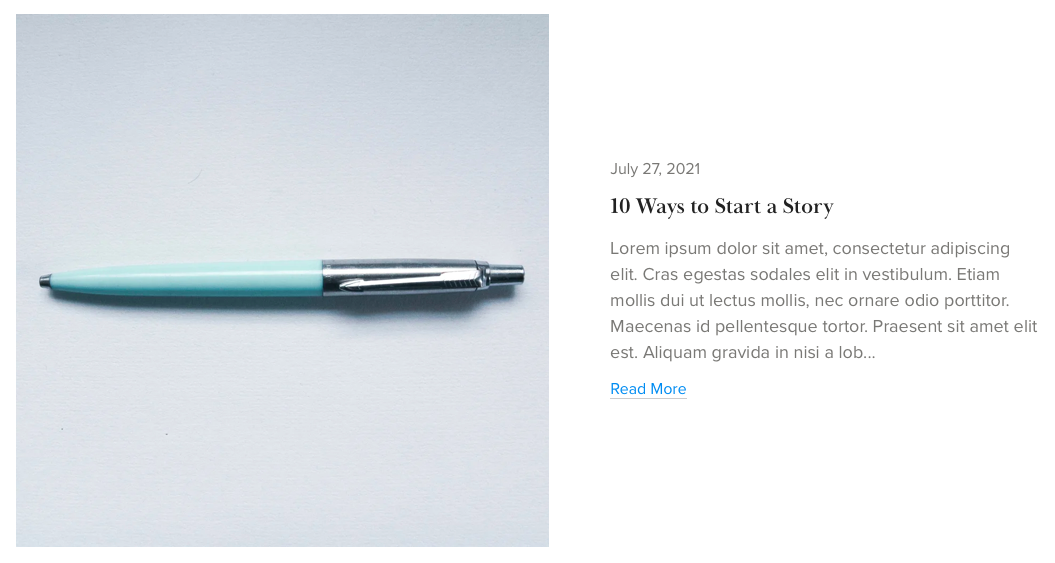
Here you can also upload an image for your post. This image will represent the post on your blog’s homepage, like in the example below:
For Visibility, select whether you’d like the post to be visible or invisible. If you make it invisible, then only you as the site owner will be able to view the post - this is great for if you want to work on posts before publishing them, for example.
Finally, choose which blog you’d like to post the article under. If this is your first ever post, from the dropdown list select Create a new blog and then type in the blog name.
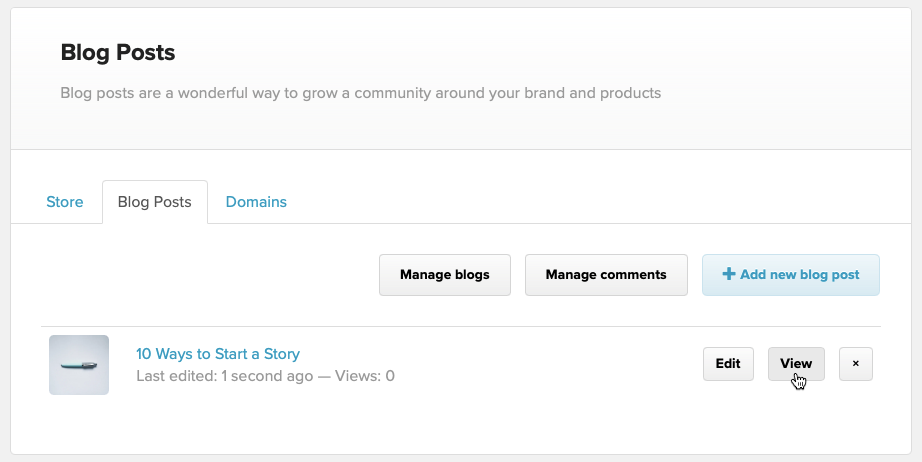
Finally, click Add Blog Post, and voila! Your blog post is created :)
You can now click View to open up a preview of your post.
Advanced options
If you click to expand Advanced options, you’ll have a couple of different choices:
- Include author name - add an author’s name to the post.
- Customize the blog post page URL - by default, Payhip will make the URL the same as the title of the post. If you’d like this to be something else, then you can do that from here. Please note, this option only appears after you’ve added a blog post.
Customize your blog
Customize a blog’s homepage
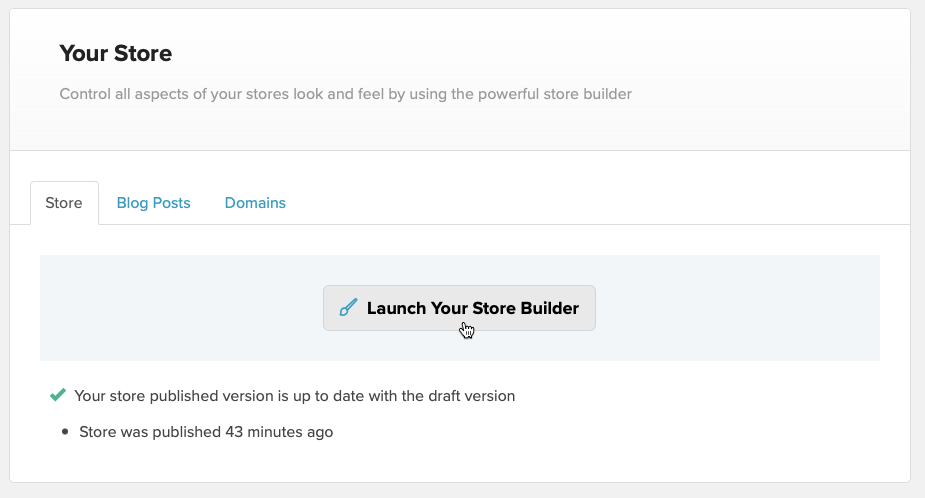
To customize the appearance of your blog homepage, you’ll want to head into the store builder by going to Store > Launch Your Store Builder.
Once the builder is launched, click the dropdown list at the top left of the screen and scroll down to Blog Pages to select the blog page that you’d like to customize.
You can then customize the page using the options over on the left-hand side. For more information on using the store builder, check out this article: Store Builder
Customize a blog post
To customize the appearance of a specific blog post, launch the store builder (as described above) and click on the dropdown list at the top left of the page. Then scroll down to Blog Post Pages and select the post that you’d like to customize.
Add your blog to the navigation bar
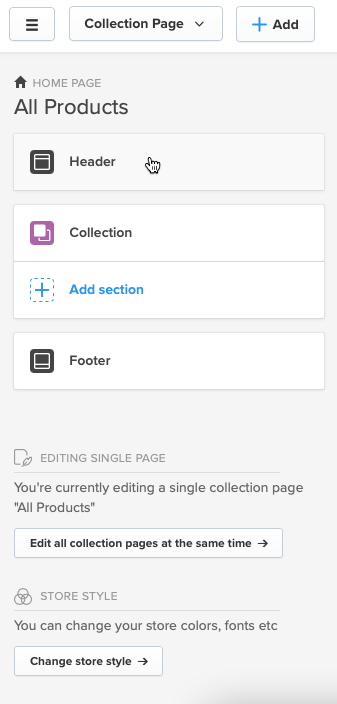
For visitors to be able to find your blog from your store homepage, you’ll want to add a link to it in your store header, as shown below:

To do that, whilst in the store builder, click Header over on the left-hand side.
Then click Navigation Links, followed by Edit Navigation Links.
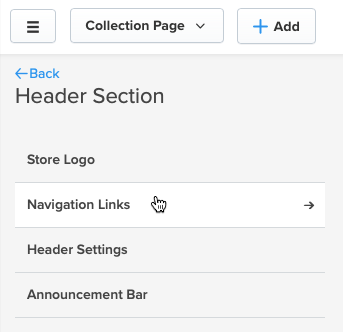
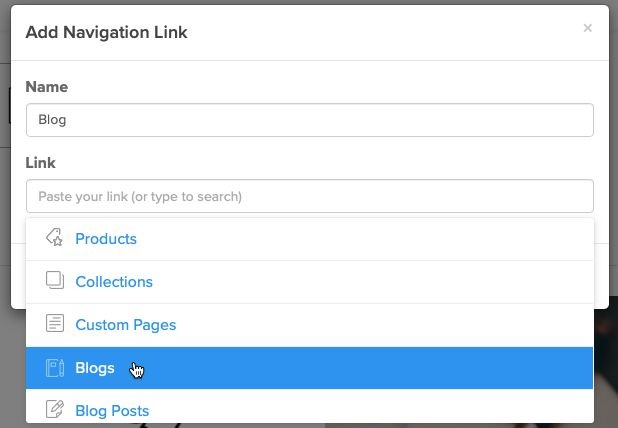
Click + Add Link.
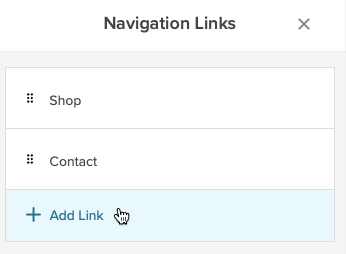
You can then add in the name of the link (the text that will appear in the navbar) and choose where the link should go to. In this case, you’d want to choose Blogs and select your blog name. (You can also add a link to a specific blog post if you like).
If you don't link to your blog in the header, it will still be accessible to people who have the direct link to the page.
Manage your blogs
To edit your blog settings, head to Store > Blog Posts > Manage blogs.

From the next page, you can click to edit your blog (you can also view it, or click the x to delete it altogether).
If you click Edit, you’ll be able to update the title of your blog and choose your comment settings.
For comment settings, you have three options:
- Comments are disabled - nobody will be able to comment on your blog posts.
- Allow comments but only publish after moderation - comments will not be published until you approve them.
- Allow comments and publish them automatically - comments will be published as soon as they are posted.
Manage blog comments
You can manage your blog comments by going to Store > Blog Posts > Manage comments.
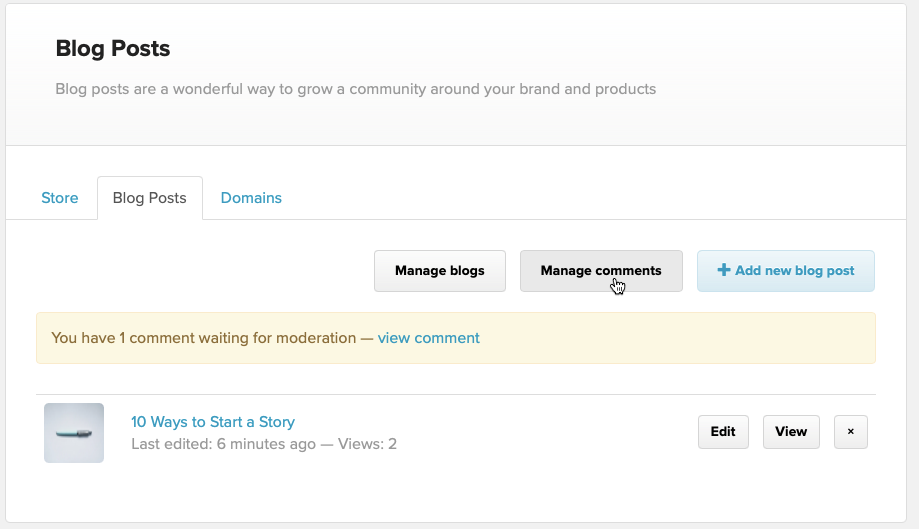
From here you can view and delete comments, see comments that are awaiting moderation, plus any that have been flagged as inappropriate by a blog visitor.