Connect Your Flutterwave Account
In this article:
- General Information:
- How to connect to Flutterwave
- FAQ
General Information
You can connect Flutterwave to your Payhip store to accept payments for selling digital products online.
Which countries is Flutterwave available in?
Flutterwave is available in Nigeria, Ghana, Kenya, South Africa, Uganda, Rwanda, Zambia, Tanzania, and Cameroon.
Note that the currency used in your Payhip account must match the currency in your Flutterwave account.
What are the payment methods available on Flutterwave?
Flutterwave supports all major debit and credit cards, including Visa and Mastercard, as well as Google Pay and Apple Pay.
In addition, Flutterwave provides a wide variety of local payment methods including: USSD, NQR, Enaira, Opay, 1voucher, Mobile Money Franco, Ghana Mobile Money, Mobile Money Malawi, Mpesa, Mobile Money Uganda, Mobile Money Rwanda, and Mobile Money Tanzania.
Availability of specific payment methods may vary by country, so certain options might not be offered in all supported locations.
Flutterwave fees - how much money does Flutterwave take per transaction?
Flutterwave's standard fee for online credit card transactions ranges from 2.6% - 4.8% per transaction depending on your country/region and where your customer is paying from. Fees vary by payment methods, please check Flutterwave's pricing page for the latest updates. Note that these fees are collected by Flutterwave and do not go to Payhip.
How to connect Flutterwave to your eCommerce store
To start selling online, make sure you've signed up for a free Payhip account.
In your Payhip dashboard, go to Account → Settings → Payment Details.
You'll see a list of payment gateways available in your region, including Flutterwave (if it's available to you). If you don't see the option, click See All Payment Options to see the full list of supported payment gateways.
Note that the default currency that you set on your Payhip account must match the currency on your Flutterwave account.
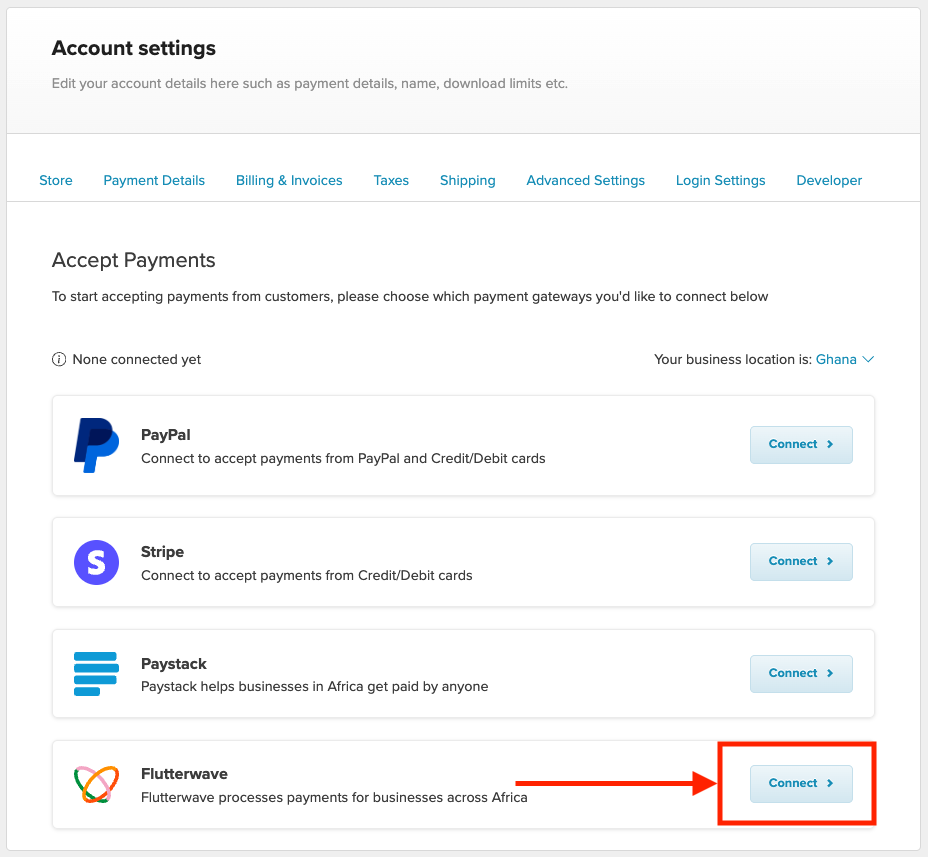
Click Connect and you'll be presented with the screen where you can add your Public Key and Secret Key.
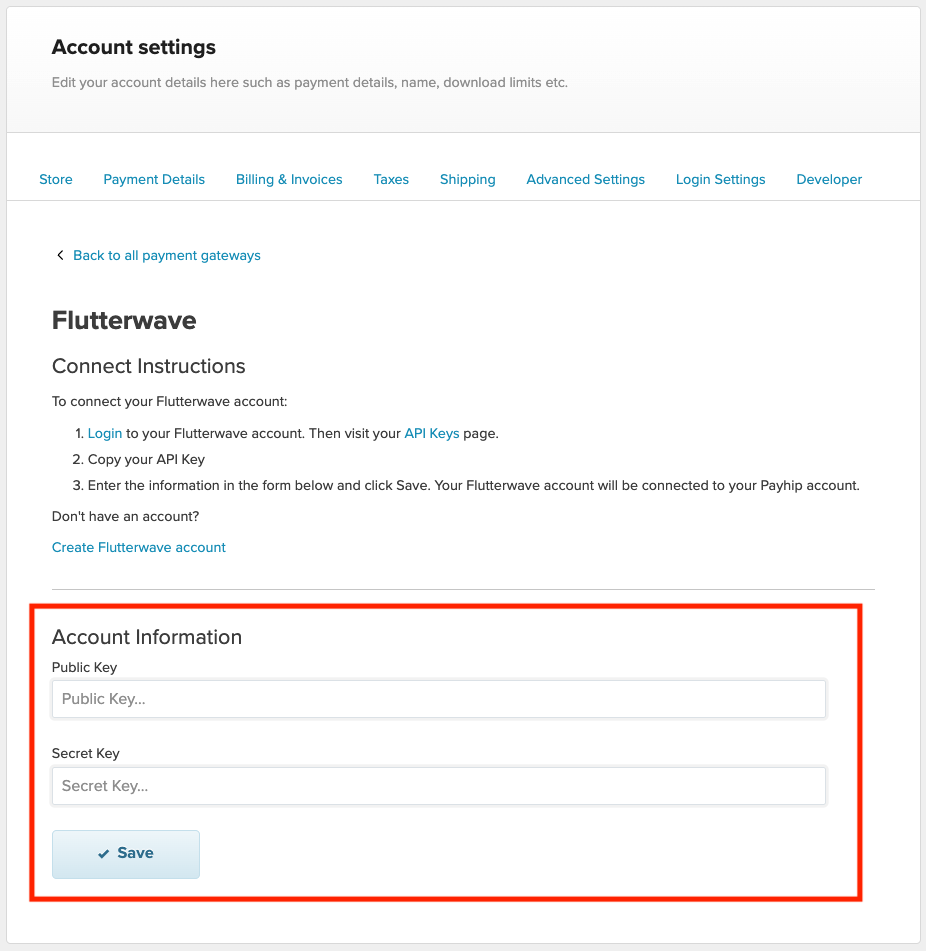
To find this information please take the following steps on your Flutterwave account:
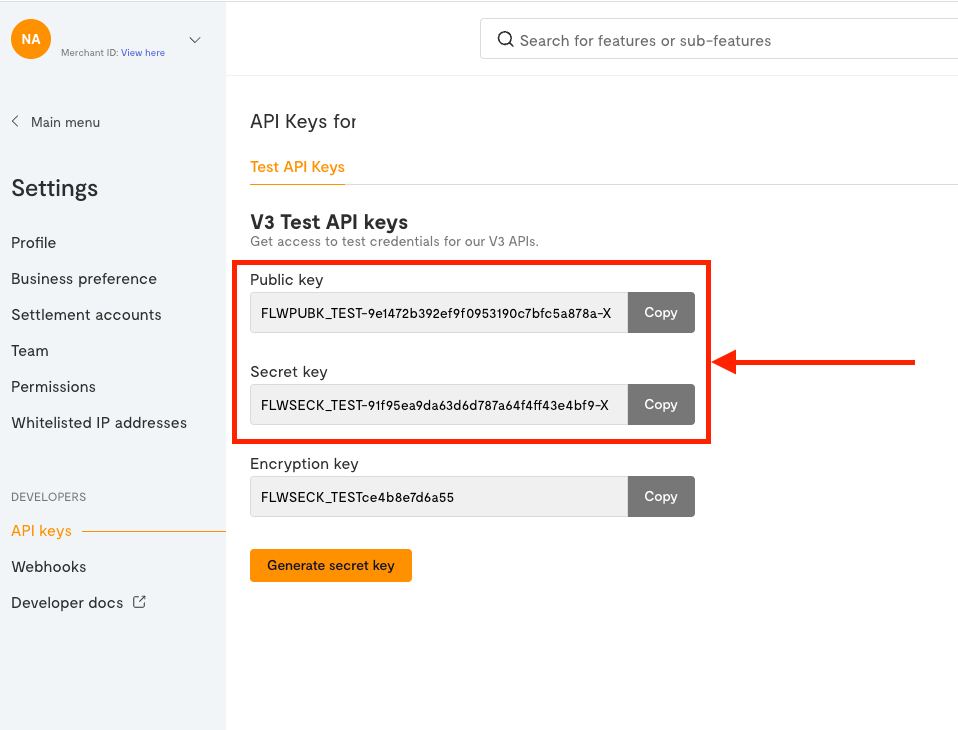
1) Login to your Flutterwave account
2) Go to Settings → API Keys
3) Now you can copy the Public Key and Secret Key and paste them into the corresponding fields on your Payhip dashboard.
After you've submitted the above information on your Payhip account you'll be shown a confirmation that Flutterwave was successfully connected.
That's it! You've successfully integrated Flutterwave to your Payhip store.
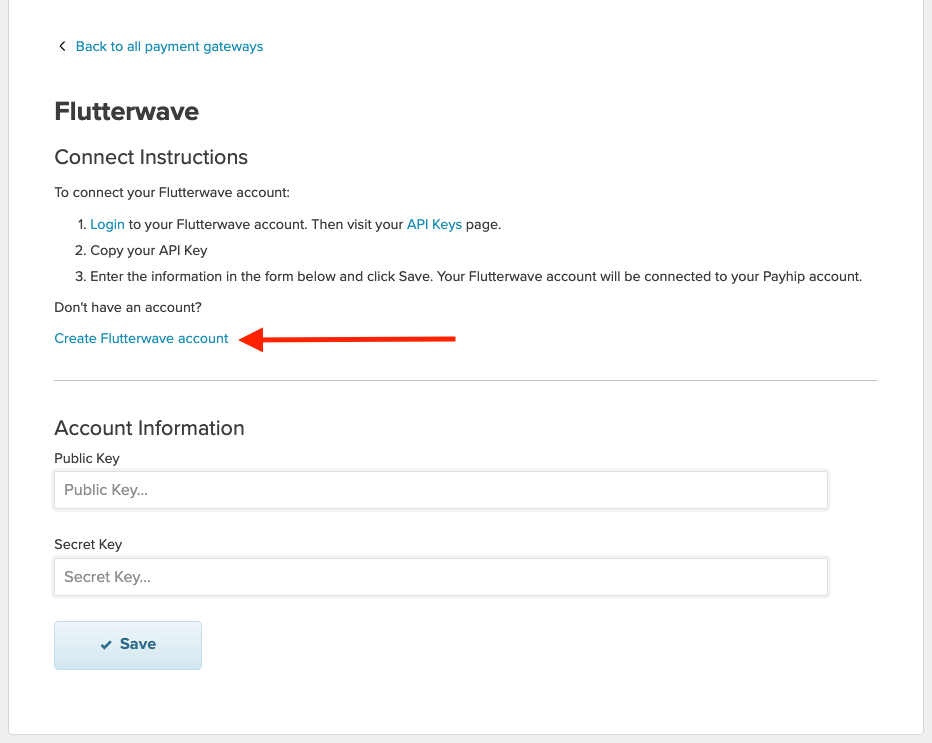
If you don't have a Flutterwave account yet
If you don't have a Flutterwave account yet, there is a link to create a new Flutterwave account for free on your Payhip dashboard. Simply follow the on-screen instructions to set up your new Flutterwave account.
FAQ
How do I get my payouts from Flutterwave?
Flutterwave payments are processed instantly, so you receive funds immediately after each transaction. Flutterwave payments work a little differently compared to Stripe or PayPal on Payhip. You will get your full payment (without Payhip fees deducted) instantly after each transaction has been processed. At the end of each month, you'll be billed for your Payhip fees using your preferred credit card.
What will my customers see at checkouts?
After you have connected your Flutterwave account to Payhip, your customers will now have the option to make a payment with any of the payment methods that are available via Flutterwave.
Your customers do not need a Flutterwave account to buy from your store. They can make a payment immediately with their preferred payment method.
Here's an example of what your customers would see:
